I had a brainstorm today while taking my kettle for Apple Cider off the stove top...
I HAVE NASTY POTHOLDERS! OK...should be singular, potholder.

I have had this one potholder for over 9 years...that is NINE!!!!
Look at how sad it is, worn, food smeared, and faded.
I had these small quilted pieces that I made at Christmas time. I originally wanted them to be framed at some point, but never got around to it.

Today I decided that I would turn them into some hand little potholders. Much more practical than wall hangings don't you think??? HMMMMMM????
Inspired by the gorgeous potholders Julia received from Christina the other day, I thought I might try my hand at some.
So, here is my tutorial ladies, go whip some up, and keep those hands from getting burned
Take two coordinating pieces of fabric, and cut them to the size you would like the potholders.
(keep in mind you need a seam allowance)
Then take some batting, and cut two layers worth the same size as your cut fabric.

Next layer your pieces as follows...two pieces of fabric right sides together, then the two batting layers. Sew around the perimeter on THREE sides only. Leave a narrow side open to turn right side out.

This is how it will look after sew around THREE sides

Now turn it right side out so that the batting is between the two fabric layers.
Then take a 3 inch piece of your favorite ribbon

Turn in the edges of the open end, and place the ribbon just inside the turned in corner.
Pin across the entire edge
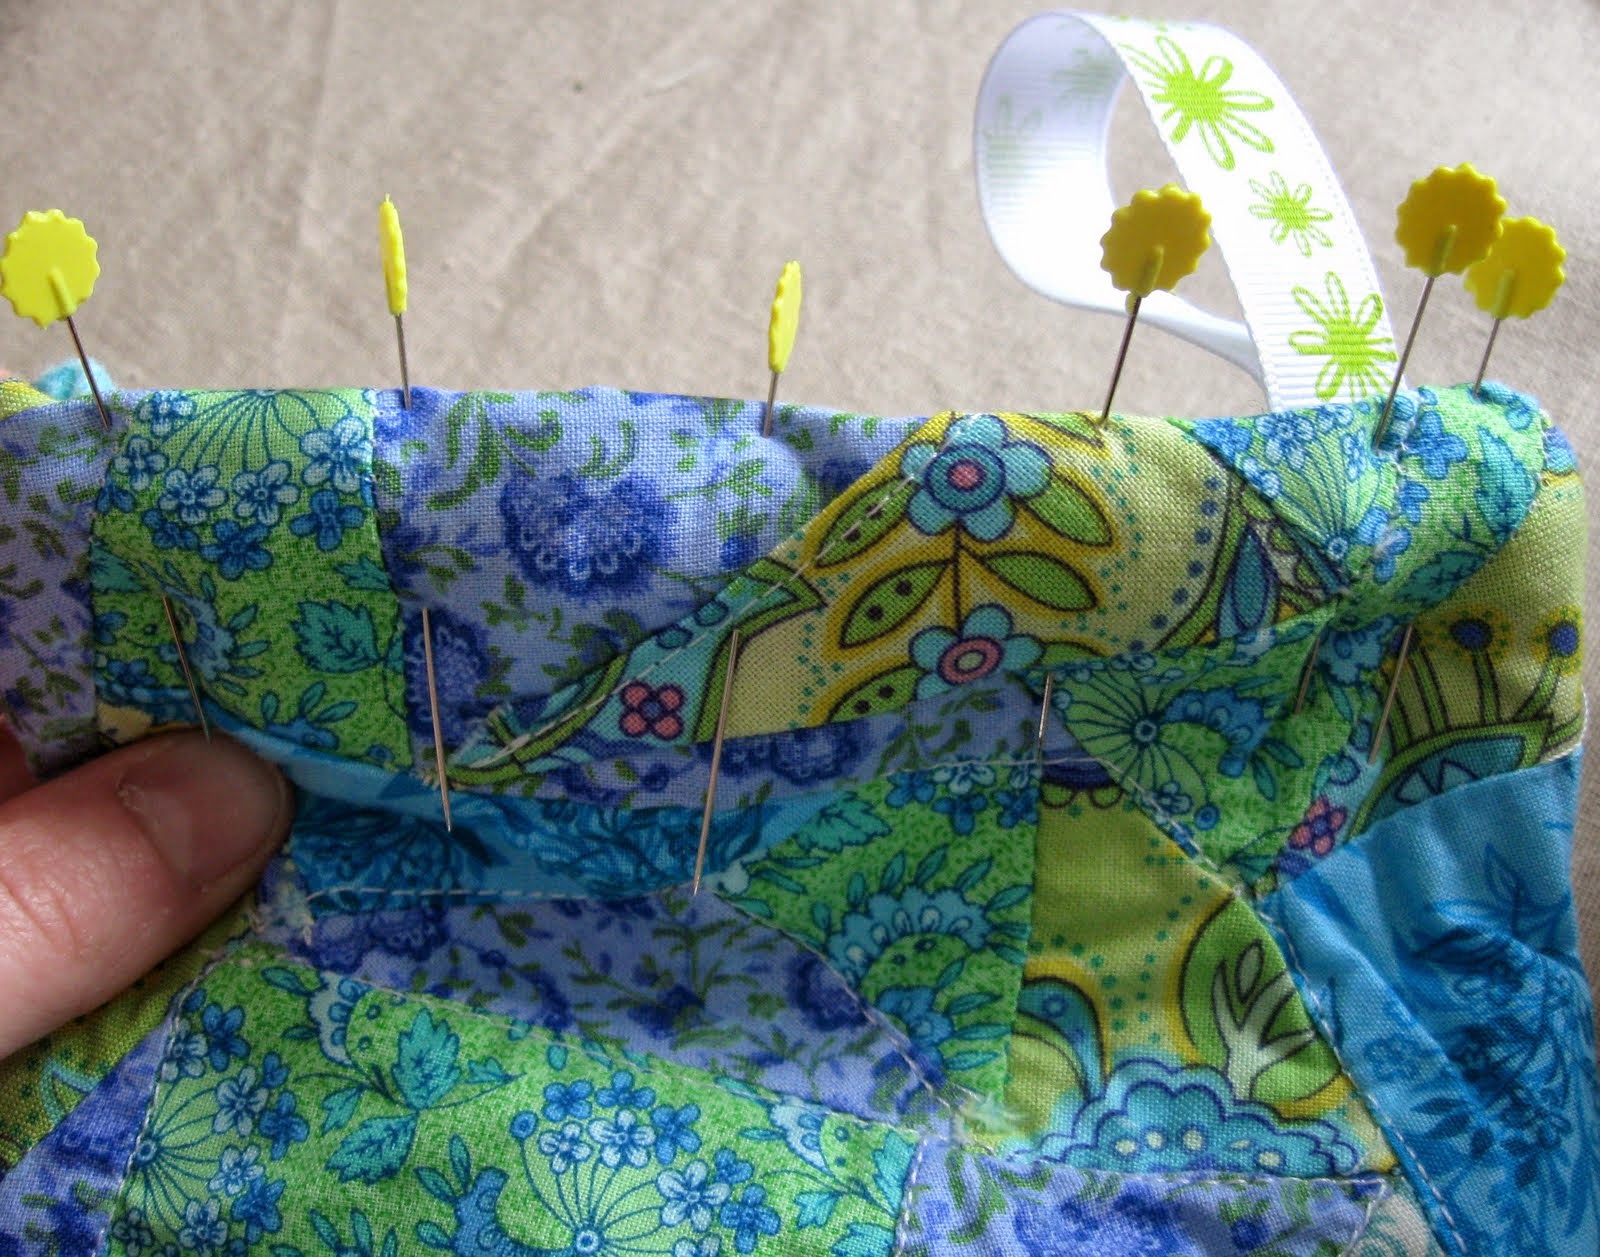
Sew up the pinned edge

Here is the finished edge

At this point you may quilt the entire surface, I chose not to so I didn't screw up my previously quilted look, but do as you like. I am going to suggest that you hand wash the potholders that are not quilted though to prevent the batting from shifting.
Here are my three happy new potholders, ready for some hot food handling.

Those are wonderful! Mine are the woven ones that the kids made on the red plastic loom, I remember doing then as a kid too. I've been meaning to make some new ones, love the ribbon as a loop.
ReplyDeleteI was wondering what you were going to do with those! I love them.
ReplyDeleteSo pretty.
very cute! and I never thought to use ribbon as the holder - genius! and just so you know, there is special potholder batting as well, to keep that holders from getting too hot. but 2 layers of fabric & 2 layers of batting is thick enough, I'm sure :)
ReplyDeleteGlad to see the creative juices flowing. They are adorable. I am also jealous of your ribbon stash.
ReplyDeletethose are beautiful and so resourceful!
ReplyDeletenicola
http://whichname.blogspot.com
They are beautiful...my potholders become nasty fast so I don't know if I could bring myself to use them.
ReplyDeleteBTW you have a wonderful blog!
I'm afraid to look in my potholder drawer to determine how old my potholders are!!! LOL
ReplyDeleteThis is a great tutorial and thank you for posting it on mysewingcircle.com :)